


How to Convert an Image to a JAN Embroidery File Like a Pro
Introduction
You have a beautiful image you want to embroider on your Janome machine. You load it onto your USB drive, pop it into the machine, and nothing happens. Your machine just stares back at you, confused. That image sitting on your computer as a JPG or PNG cannot be read by your Janome embroidery machine. This is where Image Conversion to JAN Embroidery File becomes essential. Without understanding the process, your Janome machine simply cannot create anything recognizable on your fabric.
The good news is that turning your image into a Janome-compatible file is a straightforward process when you understand the basics. Whether you are a hobbyist creating personalized gifts or a small business owner branding merchandise, getting this conversion right is the key to beautiful, professional-looking embroidery. Let me walk you through everything you need to know to convert images like a pro.
Understanding Janome File Formats
Before you start converting anything, you need to know which file format your Janome machine actually reads. This is where many beginners get tripped up.
The default format for all current Janome embroidery machines is .jef . This is the "Stitch Data" file that contains machine-readable instructions for every single stitch in your design, plus coordinates to move the hoop . When you purchase embroidery designs online for your Janome machine, you need to choose the .jef format .
So what exactly is a .jan file? The .jan format is the "Master Data" file created in Janome Digitizer software up to version 4.5 . This is a working file that you use while designing in the software. It stores object data like thread color, fill pattern, density, and dimensions . Think of .jan as your "work in progress" file, while .jef is the final "ready to stitch" file. You create your design in the .jan format, make all your edits and adjustments, and then export it as a .jef file for your machine to read.
There is also a newer master format called .emb, which is created in Digitizer MBX V5 and onward . The .jef+ format is an editable stitch file created in newer Janome machines or Horizon Link/Suite software . And .jpx files contain both stitch data and a background image, allowing newer machines to display the design on your fabric for perfect positioning .
The Digitizing Process: From Image to Stitches
Converting a simple image like a JPG or PNG into a Janome embroidery file is not just a matter of renaming the file extension. The image must be digitized, meaning it has to be turned into proper stitch paths before your embroidery machine can sew it . This process involves deciding which stitch types to use, where to place stitches, what density to set, and much more.
The digitizing process involves translating visual information into a set of commands your machine can execute. This is not a simple automatic process. It involves making dozens of decisions about how the design will sew out . The digitizer decides on stitch types, directions, densities, and color changes, making the image machine-readable .
Using Janome Digitizer Software
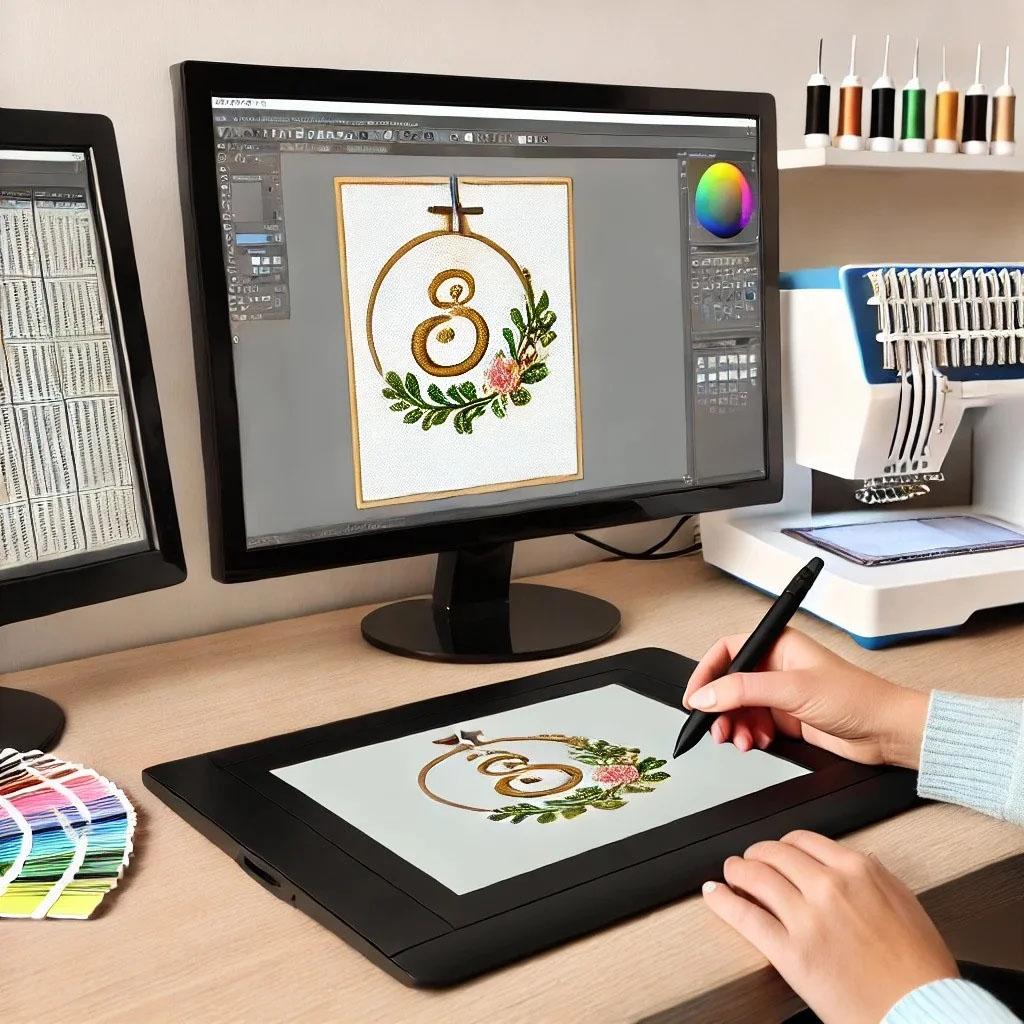
The most direct way to convert an image to a .jan file is using Janome's own digitizing software. Janome Digitizer MBX is a feature-rich software designed specifically to convert digital artwork into embroidery-ready files.
Here is how the process works. You import your image, such as a JPEG or PNG, into the software. You can then use the Auto-Digitize feature to quickly convert the image into an embroidery design. In the Auto-Digitize toolbox, you select Insert Artwork and choose your file . For vector art, use an EPS file; for raster images, use a JPEG . You resize your artwork to the size you want it and to fit within the hoop .
Once you have imported the image, you can use the Auto-Digitize function. In the Bitmap Artwork Preparation screen, you set the number of colors to use in the Processed Bitmap section . You can then set options for each color used: Fill for large color shapes, Detail for line work and small text, and Omit for colors you want to ignore .
For raster images, you want to be careful to avoid overly complex images. Complex images with many tiny sections of color end up getting broken up into lots of segmented sections of stitching. Each section of stitching requires a knot at either end, and when too many tiny sections stack up, the mass of knots can become tangled on the back side of the fabric . This can lead to fabric bunching, thread breaking, and needle breaking. You can simplify an image by tracing the file in Illustrator, as well as reducing the number of threads used in auto-digitizing .
Alternative Software Options
If you do not have Janome Digitizer software, other embroidery programs can also handle Janome formats. Artistic Digitizer V2 is another powerful option from Janome that offers robust features for converting images to embroidery files . This software can convert images into cross-stitch, photo stitch, paint stitch, or sketch effects . The Sketch tool, new in version 2.0, creates a charcoal-like outline of your image that can be embroidered onto t-shirts and other flexible materials .
Artistic Digitizer includes features like creating designs using the complete built-in designer, converting vector designs to embroidery, converting any True Type or Open Type fonts to embroidery, and 250+ pre-digitized fonts . It also includes PaintStitch, which automatically converts a picture into an embroidery to look like a painted canvas .
Working with JAN Files
The .jan file is the file that contains the embroidery's object properties. There is a slot for each object, so if there are 15 objects in an embroidery design, there will be 15 slots in the .jan file . It is the file format that is used while the embroidery is in its interim state. When you save an embroidery while it is incomplete, you should save it as a .jan file, so you can easily modify it later .
Here is a key tip from experienced digitizers. The .jan format is where you build your design. You can make changes to objects, including their color, shape, and properties, and the description is updated. It is much easier to modify an embroidery design which is a series of objects than one which is stitch-based .
Once you are happy with your .jan design, you optimize it and save it as a .jef file for your machine. Janome Artistic Digitizer software includes an optimization feature that rearranges the sequence for the most efficient color order . This is important because without optimization, you could easily have a hundred color changes which would take forever .
Common Mistakes to Avoid
When converting images for Janome embroidery, many people make mistakes that lead to poor results. One of the most common is confusing master files with stitch files. Remember, .jan is your editable design file, while .jef is what your machine actually reads. Saving a .jan file directly to your USB drive and trying to load it on your machine will not work.
Another common mistake is trying to load JPG or PNG files directly onto your machine. Embroidery machines require specific file types; they cannot directly read common image files like JPG or PNG. These images must first be digitized into embroidery formats .
Using overly complex images for auto-digitizing is another pitfall. Complex images with many tiny sections of color end up getting broken up into lots of segmented sections of stitching, leading to tangles and thread breaks . Simplify images before digitizing to avoid this problem.
Finally, always use the Trace function on your machine before stitching a new design. This lets you verify hoop size, dimensions, color sequence, and prevents costly mistakes .
Conclusion
Converting an image to a .jan embroidery file for your Janome machine is the essential first step to beautiful embroidery. Understanding the difference between .jan and .jef files, using the right software, and following professional techniques will save you time, frustration, and wasted materials.
Whether you choose to use Janome Digitizer software, Artistic Digitizer, or another program, remember that quality digitizing is an investment in your final product. The .jan format gives you the flexibility to edit and refine your design, while the .jef format makes it ready for your machine. Take the time to get it right, and your Janome machine will reward you with flawless stitch output every time.